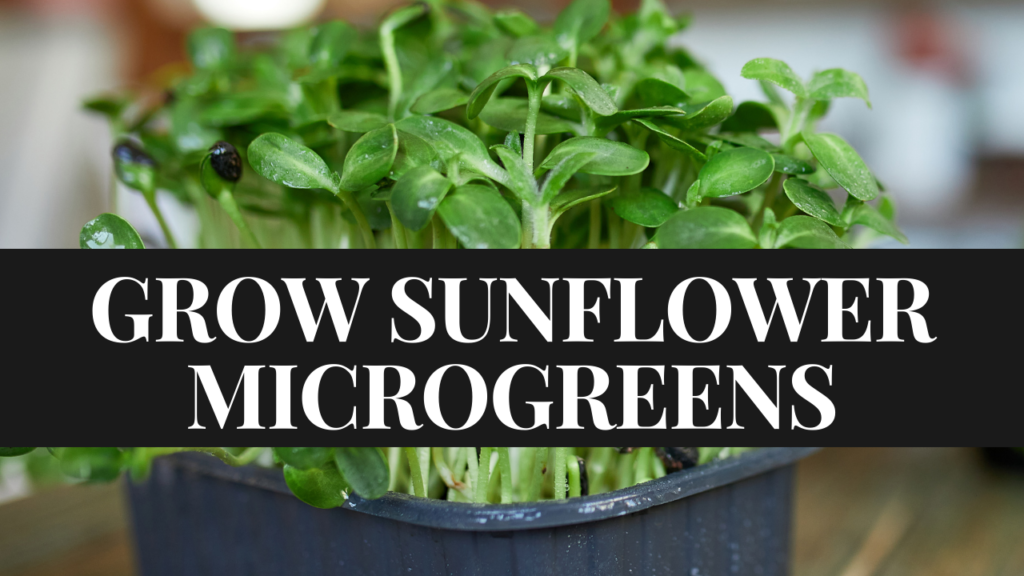
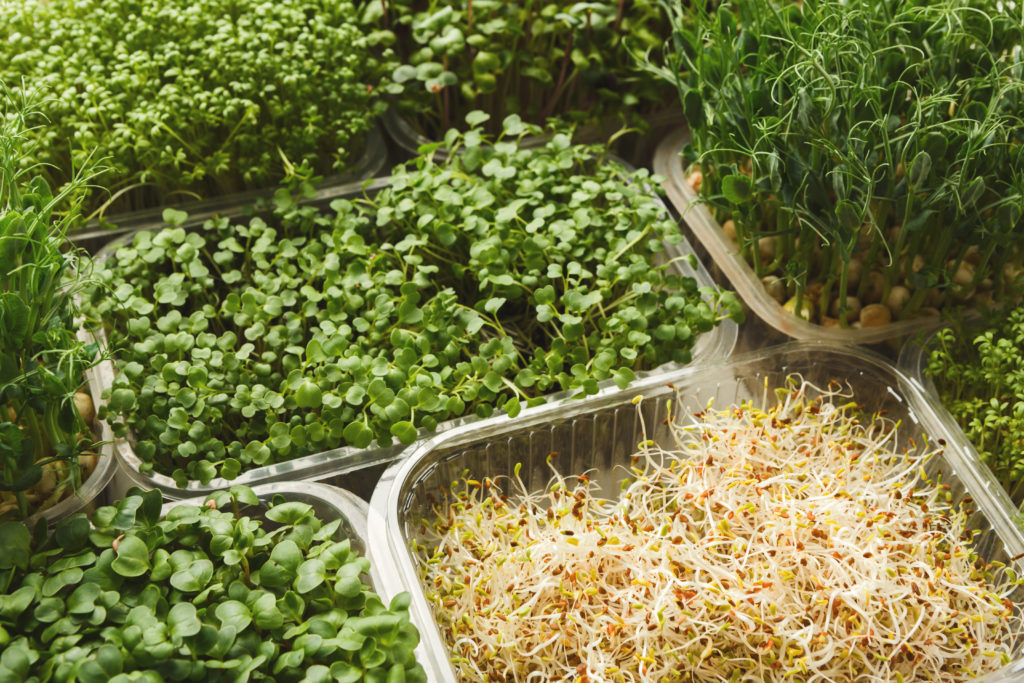
If you are a starting plant grower, growing microgreens is a must-try! First and foremost, space will not be a problem because these can be grown indoors on your shelves! These are seeds that are grown and harvested in its earlier stage. In just two to three weeks (or even less!), you can already enjoy these microgreens in your salad plates!
Microgreens are considered as super foods that are packed with nutrients and contains more antioxidants to help boost your health and immunity. Agricultural Research Service scientists in the United States experimented on microgreens and the results showed that different species contain widely varying vitamins and minerals. Moreover, scientists compared the difference between microgreens and sprouts; and they found out that microgreens have high content of carotenoids, chlorophylls and organic acid with no sugars. They also exhibit greater anti-diabetic and anticholinergic activity than sprouts.
In this article let us focus on a common microgreen available in the market which is sunflower. If you are wondering what type of sunflower seeds can be utilized as microgreens, the same exact seeds that you use to plant a sunflower will do!
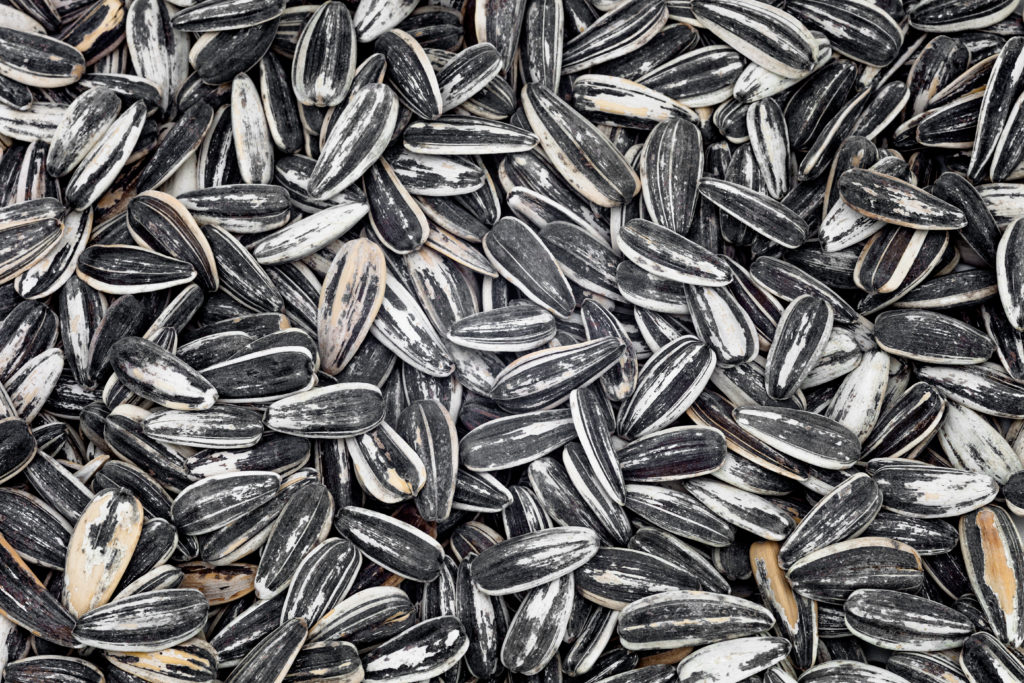
Sunflower microgreens are packed with calcium and iron. They are high in fiber along with a wide array of vitamins and minerals such as vitamins A, B, C, D, E, magnesium, phosphorus and potassium. They belong to the widely consumed microgreens as they can be mixed into omelette, salads, soups, and even in your smoothies!
In this guide, we will delve into the materials, principles and essentials on sprouting, growing, and harvesting sunflower microgreens. Some of the methods here can also be applicable to other microgreens.
Materials
As mentioned earlier, space will not be an issue. For the container, you can use any tray or plastic container. If you have a microgreen tray available, it will be better. In growing microgreens, you can use tissue, coco coir or soil as medium. Other alternatives are also emerging in the market these days. Some examples are hemp mats and coco mats.
Grow light strips or LED bulbs will be needed if you will keep them in a shelf or in a place where there is not enough sunlight. But if you plan to place your microgreen tray near a window with ample sunlight, that will be fine! To complete your microgreen start-up journey, prepare your sunflower seeds.
Soaking the Seeds
To start, soak your seeds in cold water overnight. This will soften the shell of the sunflower seeds and let it germinate. After 12 hours of soaking, you need to drain it, rinse them and soak once again for another 8-12 hours. By this time, some seeds must already show some small sprouts.
Take note that other seeds such as small seeds, do not need soaking anymore. This step will be appropriate for those seeds which have hard shells and is bigger in size.
Planting
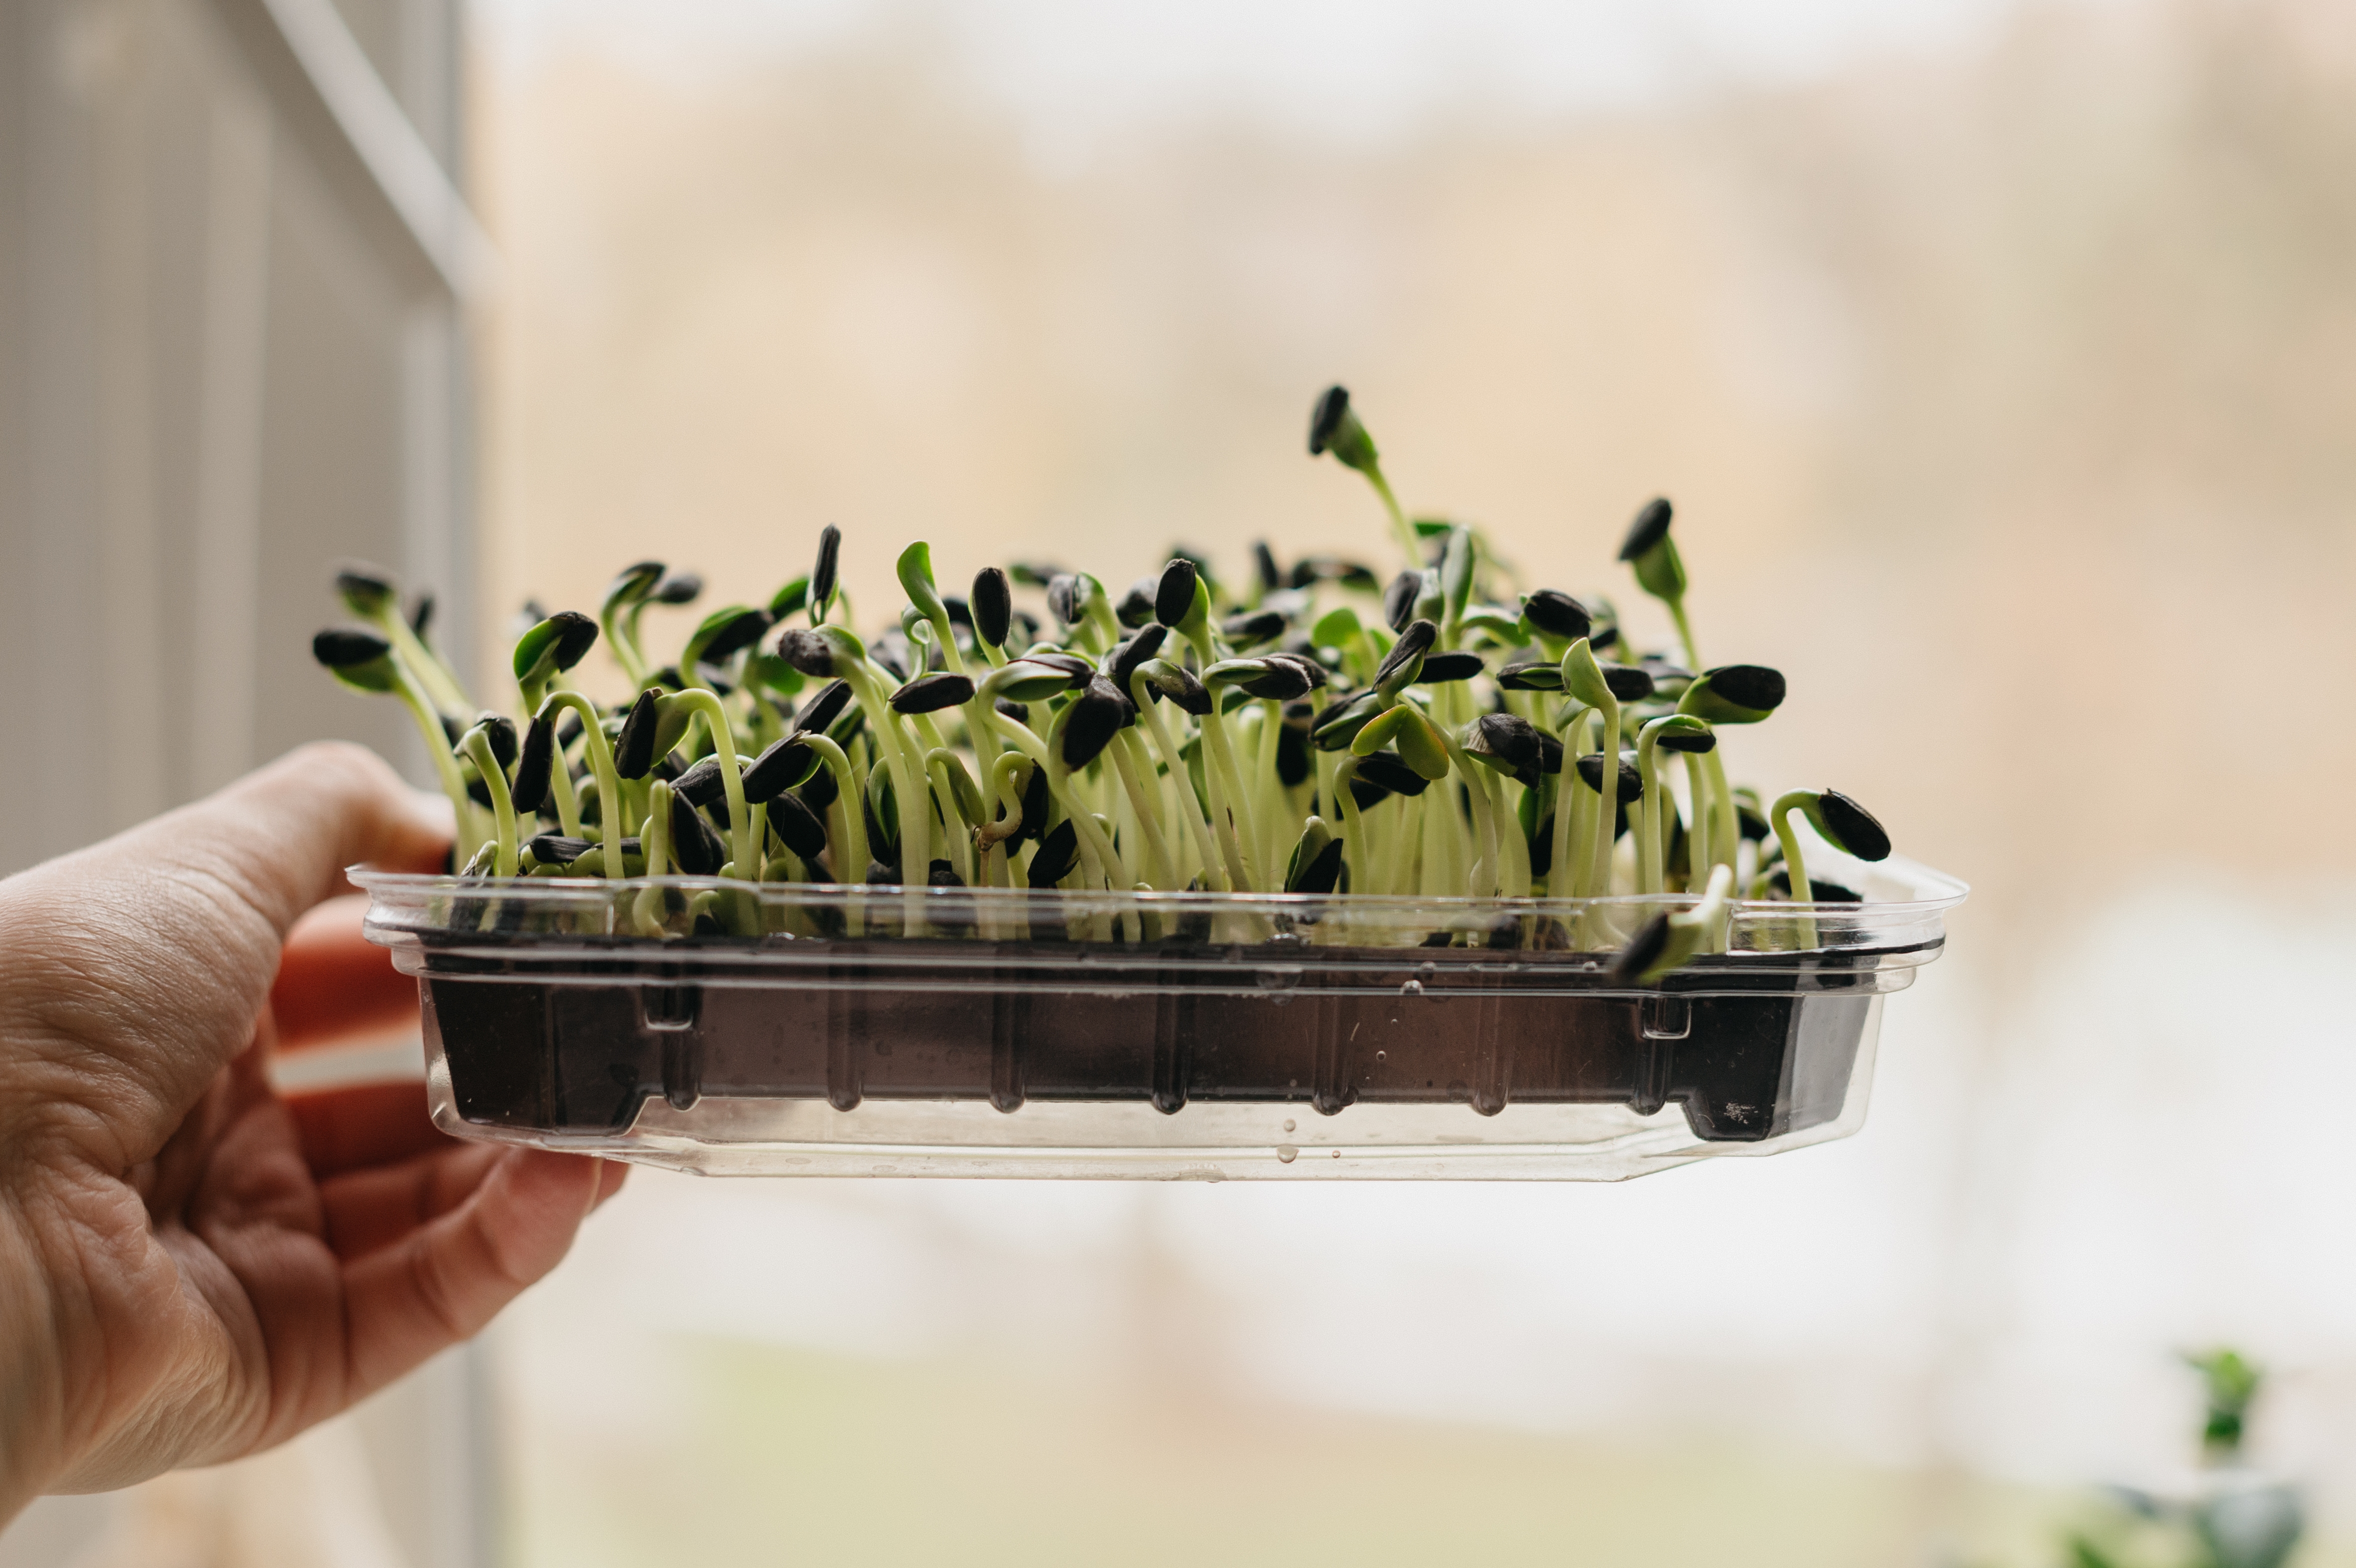
Prepare your container or microgreen tray by placing utmost an inch of coco coir, soil, or any growing medium available where the seeds will be grown. Make sure that the growing medium is evenly distributed across the tray.
Afterwards, distribute the seeds unto the coco coir your growing medium in such manner that the seeds will remain on top and will not be buried under. However, make sure that the seeds are pressed down lightly for them to still have enough contact with the growing medium.
Remember to mist the seeds with water, but not too wet for it can cause the growth of molds. It is important to cover the tray with any lid (or another tray) to maintain moisture and give weight above them. Also, it will be good to maintain them for the first two to three days in the dark. This condition mimics a seed buried under the soil. This way, the sprouts will not spend their energy to be greener, but they will be more focused to their structural growth. Therefore, the stem of your microgreens will be thicker.
Watering
While roots are not yet developed, continue to water the seeds using a spray bottle. You can say that they have already developed their roots when they start to stand by themselves. It is vital for the seeds to have access to water but once again, not too much for it can develop molds.
If you are using a microgreen tray and once roots are already penetrating below, you can now put water in the lower basin. This will be easier for you since by this time, you do not need to water them daily. The roots will already do its job as it absorbs water below!
Lighting
When leaves are already developed, you can now expose them to LED grow lights or natural light for 12-18 hours. This will make your sprouts greener and nutrients will be synthesized by the plant even more.
Harvesting
When the shells are already falling or when the sprouts are already 4 inches tall, they will be ready for harvest! Harvesting microgreens are pretty simple. You just need to cut them through the part of the shoot that is not too close with the growing medium. We avoid cutting so near from the soil or coco coir because microorganisms can build up and contaminate your produce.
After that, you will need to rinse them gently with cold water. Just like that, they are ready for you and your family to consume!
If you want to store them for some time, you can place them inside a plastic bag and chill them inside the refrigerator. They may last up to 5 days. The general rule when growing microgreens, however, is that the nearer the microgreens are consumed to harvest, the greater its flavor and taste. The longer you keep microgreens harvested in the refrigerator, the more they lose their quality.
Possible Problems
The most common problem for microgreen growers are plant pathogens. As early as the germination stage, molds can conquer your tray and serve as a hindrance for your microgreens to grow. A solution for this is to make sure that your tray is not watered excessively.
Another pathogen which affects the harvest is damping off. This is caused by several microorganisms and reddish to brown soft portions in your microgreens start to appear, which attack the lower portion of the stem. Through that mechanism, the microgreen will have difficulties in terms of its anchorage, it weakens the plant and they die further. Most of bacterially infected microgreens are not consumed anymore.
However, adding a drop or two of lavender oil to your water before watering your seeds, or sprinkling a little cinnamon on the surface of your soil, can help to prevent damping off.
This can also be a result of poor air circulation. Thus, it is also recommended to have a fan near your set-up to have a good air circulation and lessening the chance of molding and pathogen infection among your microgreens.
Key Points to Remember
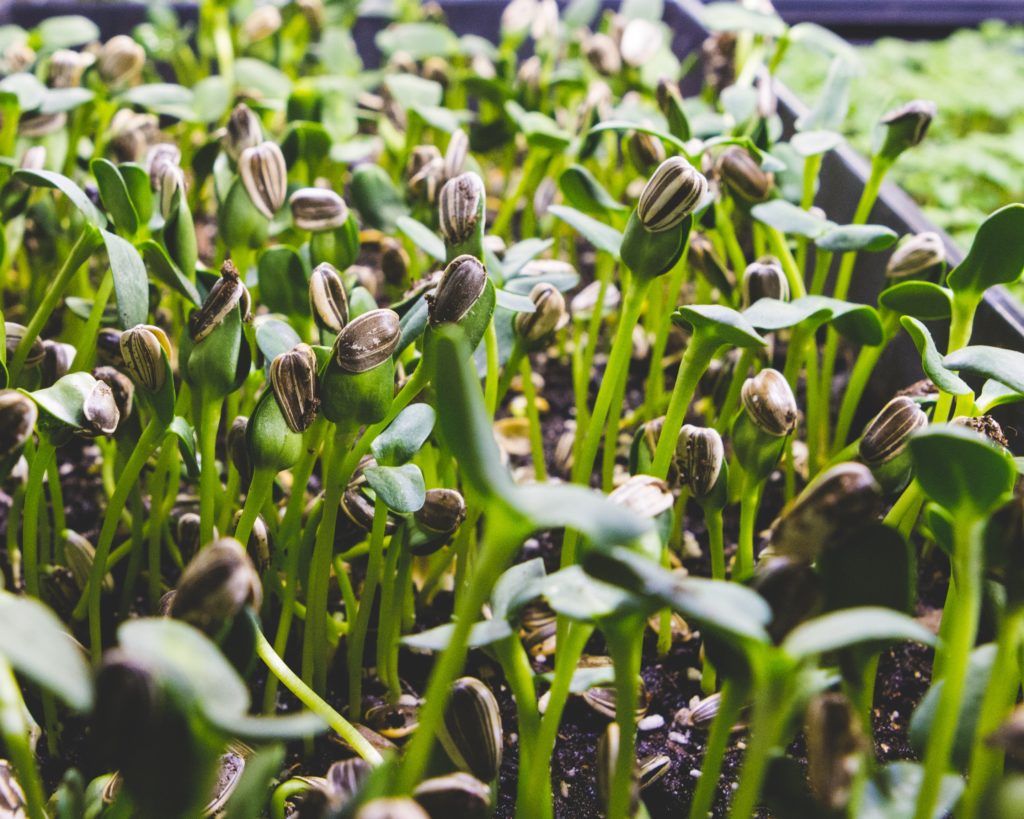
In the case of sunflower seeds, soaking is necessary for an easier and faster germination. But if you will be trying other smaller seeds, soaking them may not be necessary anymore. Another important factor is soil moisture. Through the germination process moisture must be maintained. But do not over-water them, because molds may develop and hinder their growth.
Here is an essential tip: if you want to store your sunflower microgreens, it will be better if you will lessen their water supply 8-12 hours before harvesting them. By doing this, they will become drier, thus they will be better for storage. The most important thing in this journey is to enjoy every part of it. Gardening is a learning process. You may not succeed at first, but mistakes help you gain more knowledge. I hope that this guide equipped you with essential steps and tips to make your microgreen journey a successful one.
If you are looking to start your garden, check out the links below for our recommended books and audiobooks.
Don’t forget to download the free ebook too.
Backyard Gardening Book (paperback)
Backyard Gardening Book (audiobook)
Urban Gardening Book (paperback)
Urban Gardening Book (audiobook)

